Planning a new office in India can feel like too many threads at the same time. You have to deal with the landlord, lease terms, headcount changes, IT, safety, furniture, and a fixed move-in date. If you handle admin or operations, you sit in the middle of all this. The good news is that a simple order of steps can reduce stress and save money. Think of this guide as a friendly playbook you can follow with your designers and vendors. If you want to see how a design-first team approaches it in NCR, have a look at Orange Offices.
Step 1: Calculate Space Requirements
Start with people and work, not only square feet. A fast way to size is to write down how your team actually spends the day. Some roles sit for long focus work. Some are on calls. Some need a place to spread out drawings or screens. When you note this, the space picture becomes clearer.
Begin with your present headcount and add a sensible 18 – 24 month view. Be honest about how many people truly need a dedicated desk and how many can share seats across the week. Add the rooms you will need for daily life, a couple of small rooms for quick calls, a few mid-size rooms for proper meetings, and one better room for clients or board reviews. Do not forget the “back of house” needs like a small IT room, storage for cleaning supplies, a print corner, and a landing area for parcels. Keep circulation generous so people can move without bumping chairs.
You do not need a perfect number on day one. A range is enough to shortlist buildings and to run quick “test fits” on real floor plates. Those test fits will show you what different seat counts feel like in the same floor, which is more useful than arguing over a single square-foot figure.
Step 2: Decide Seating & Zone Mix
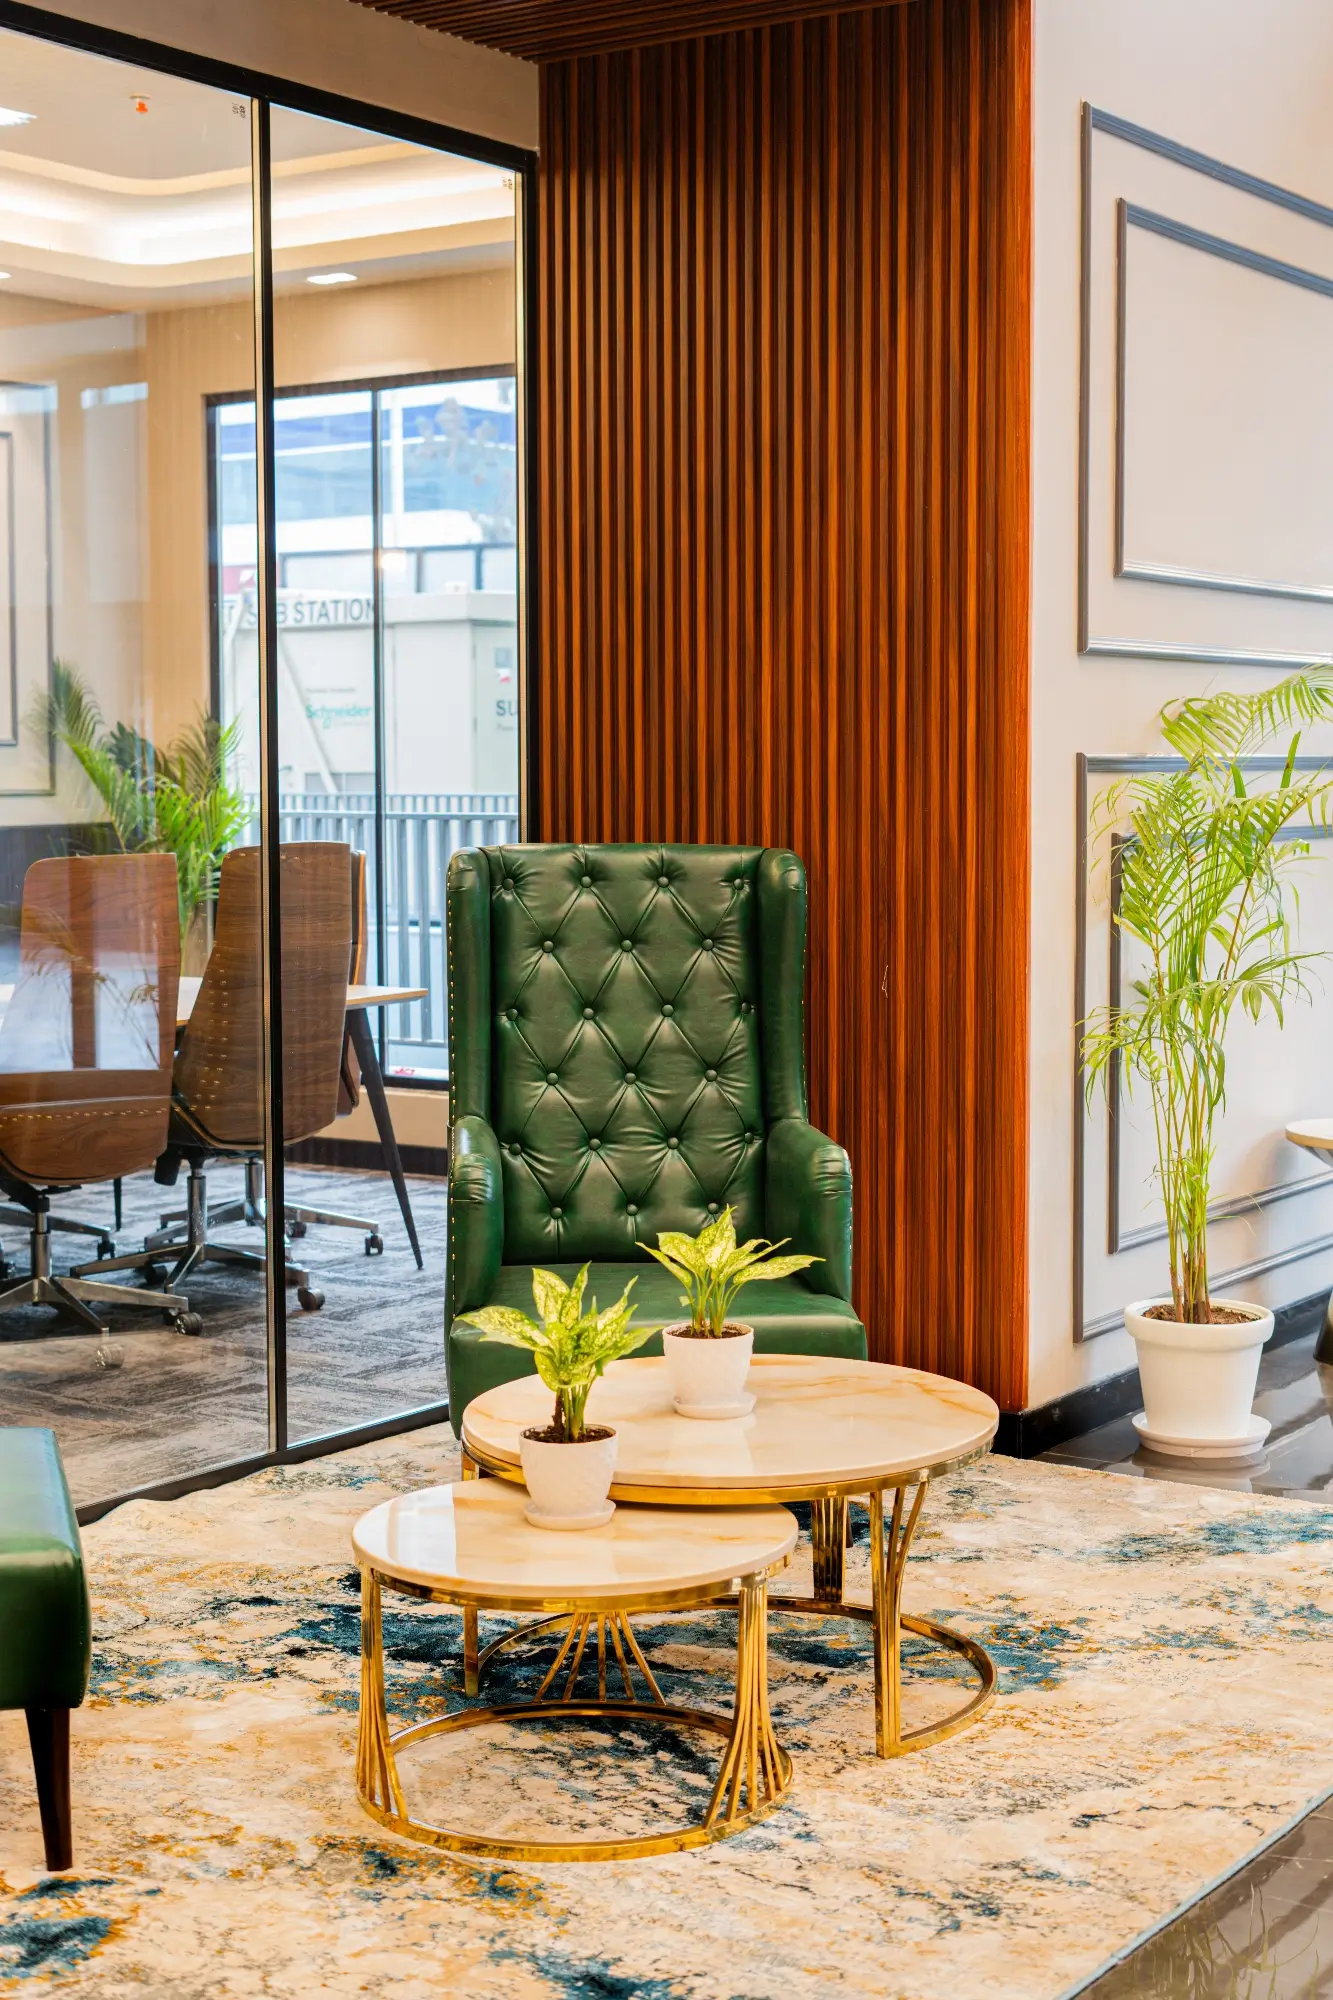
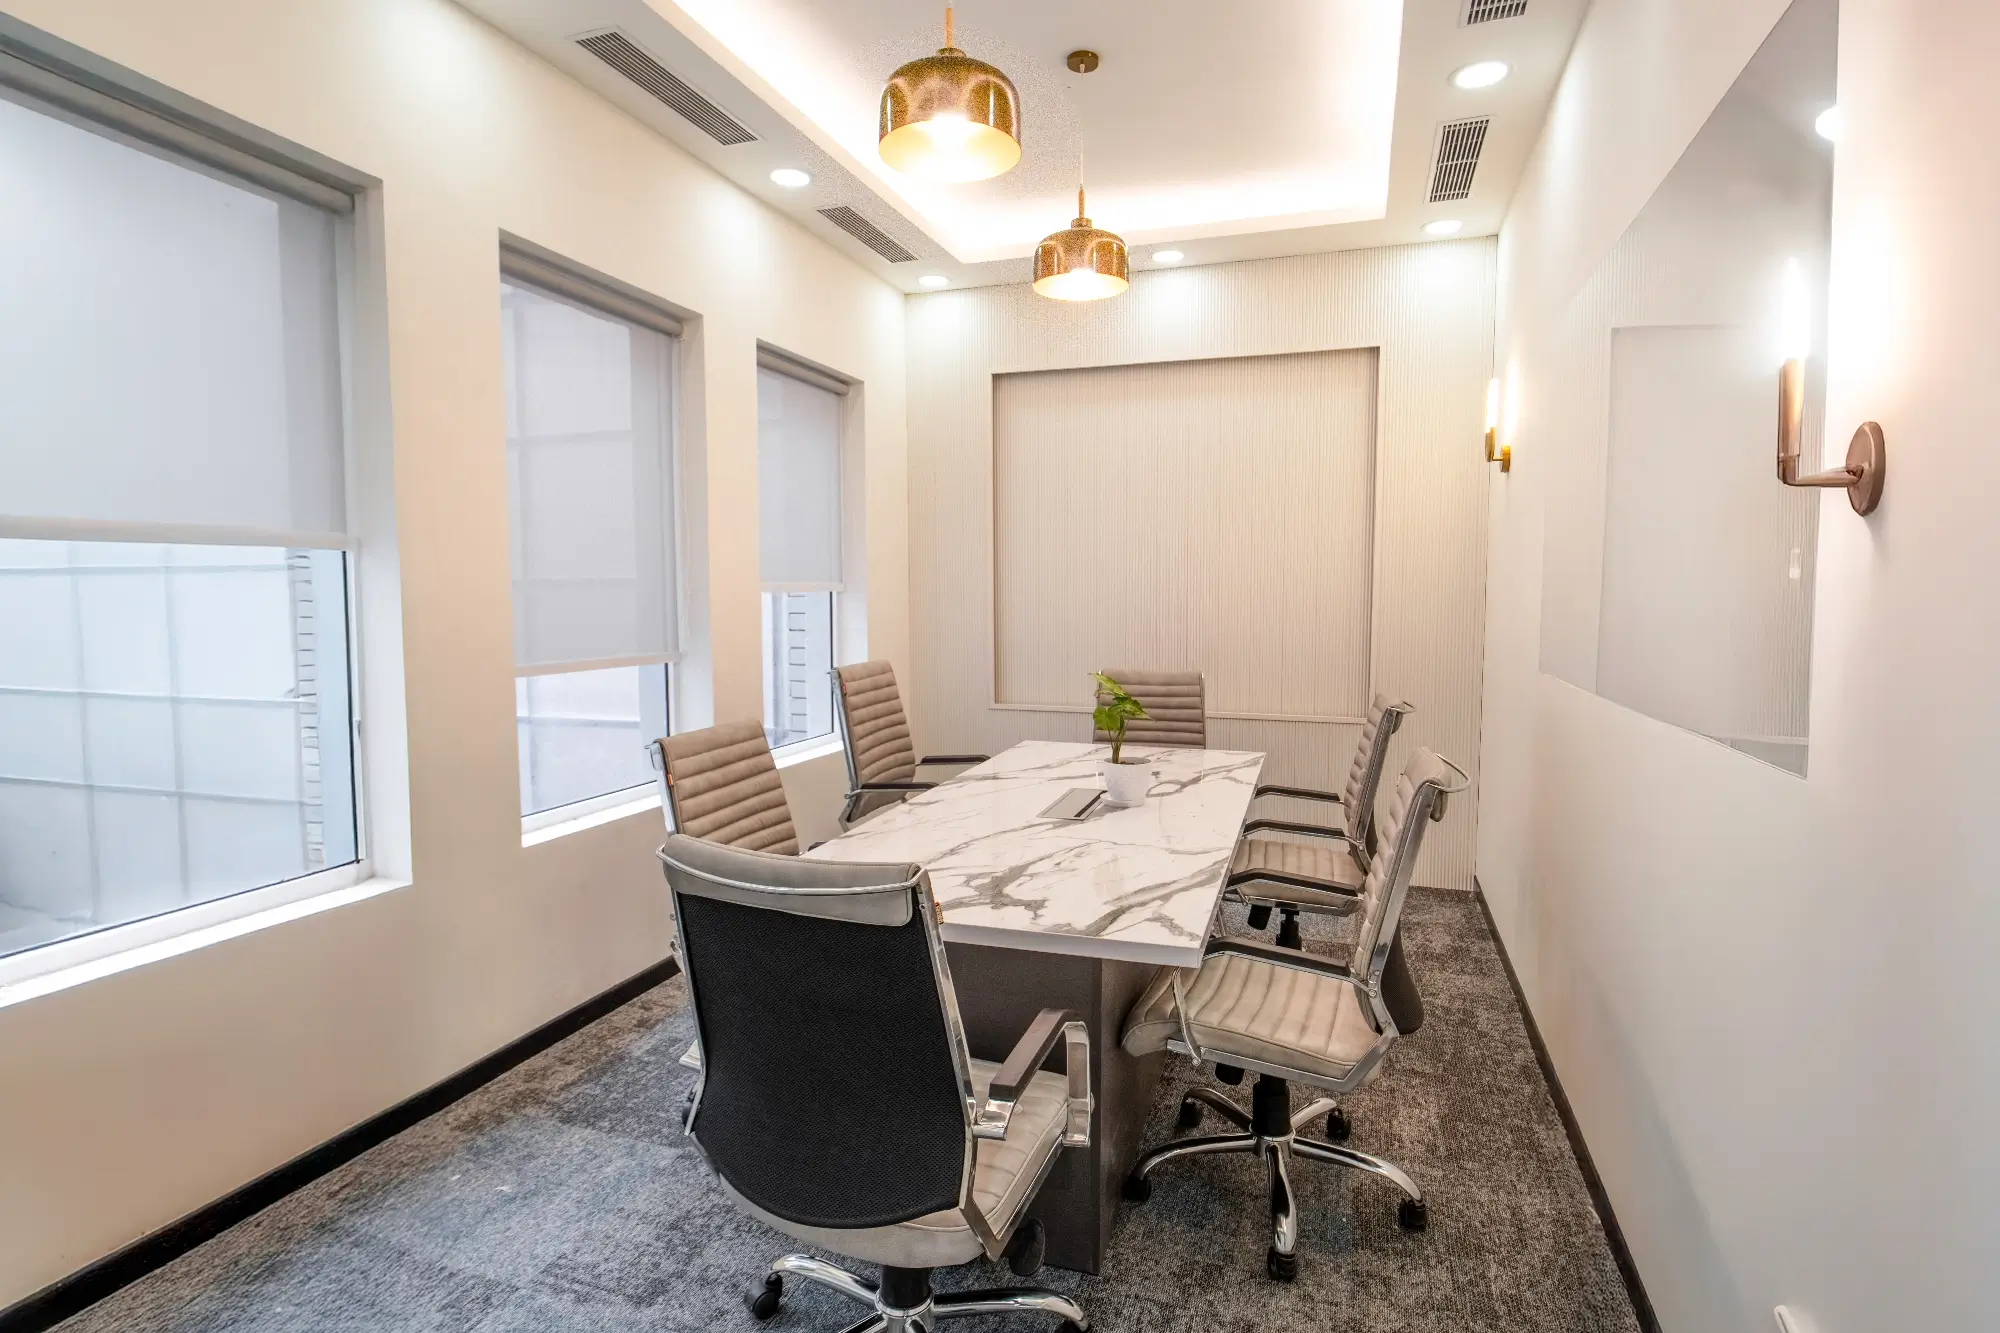
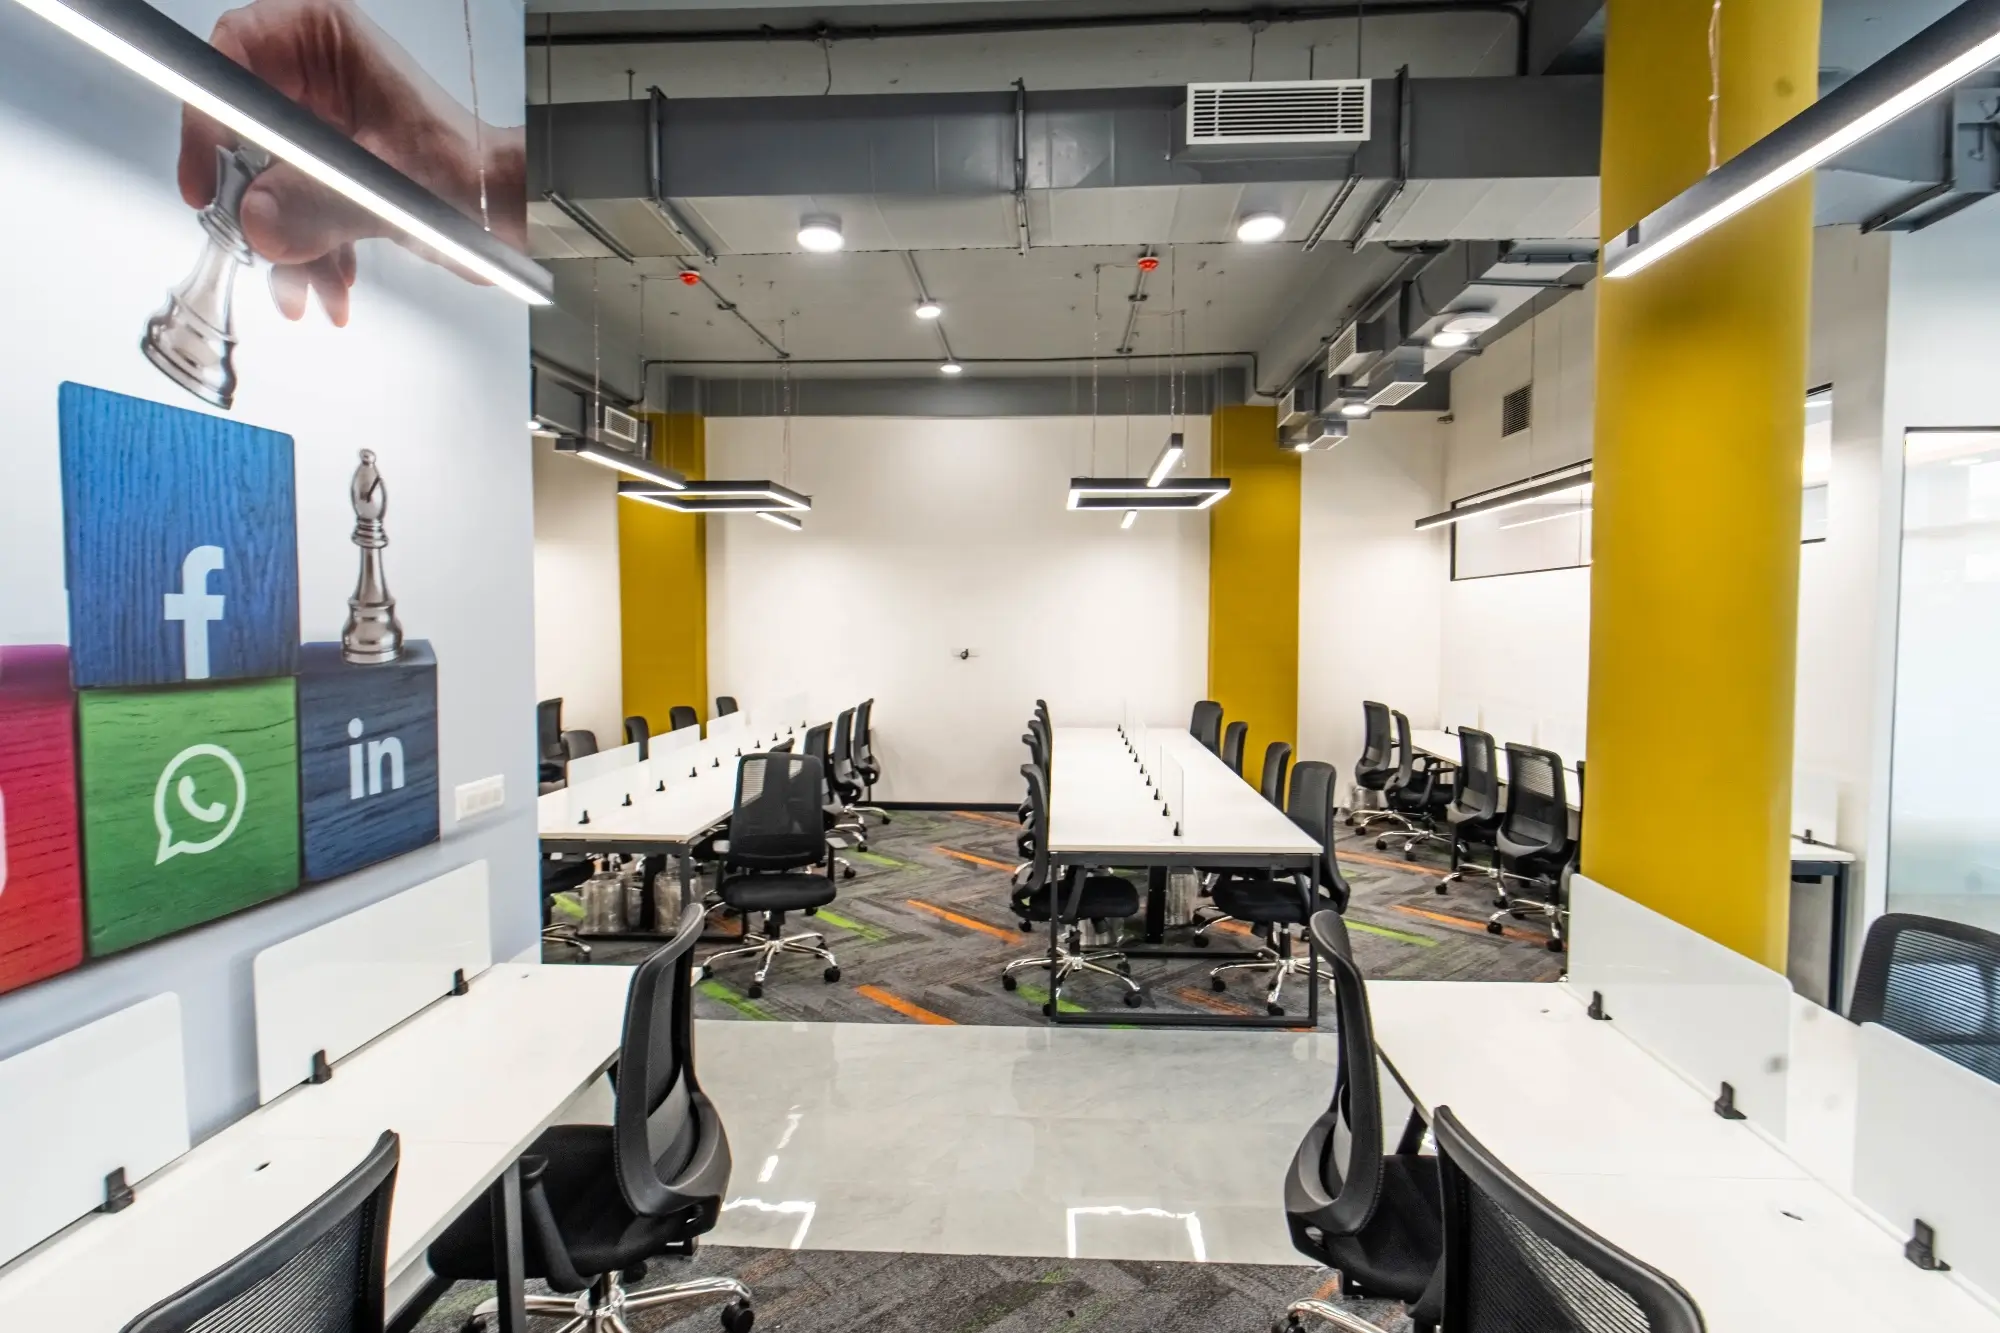
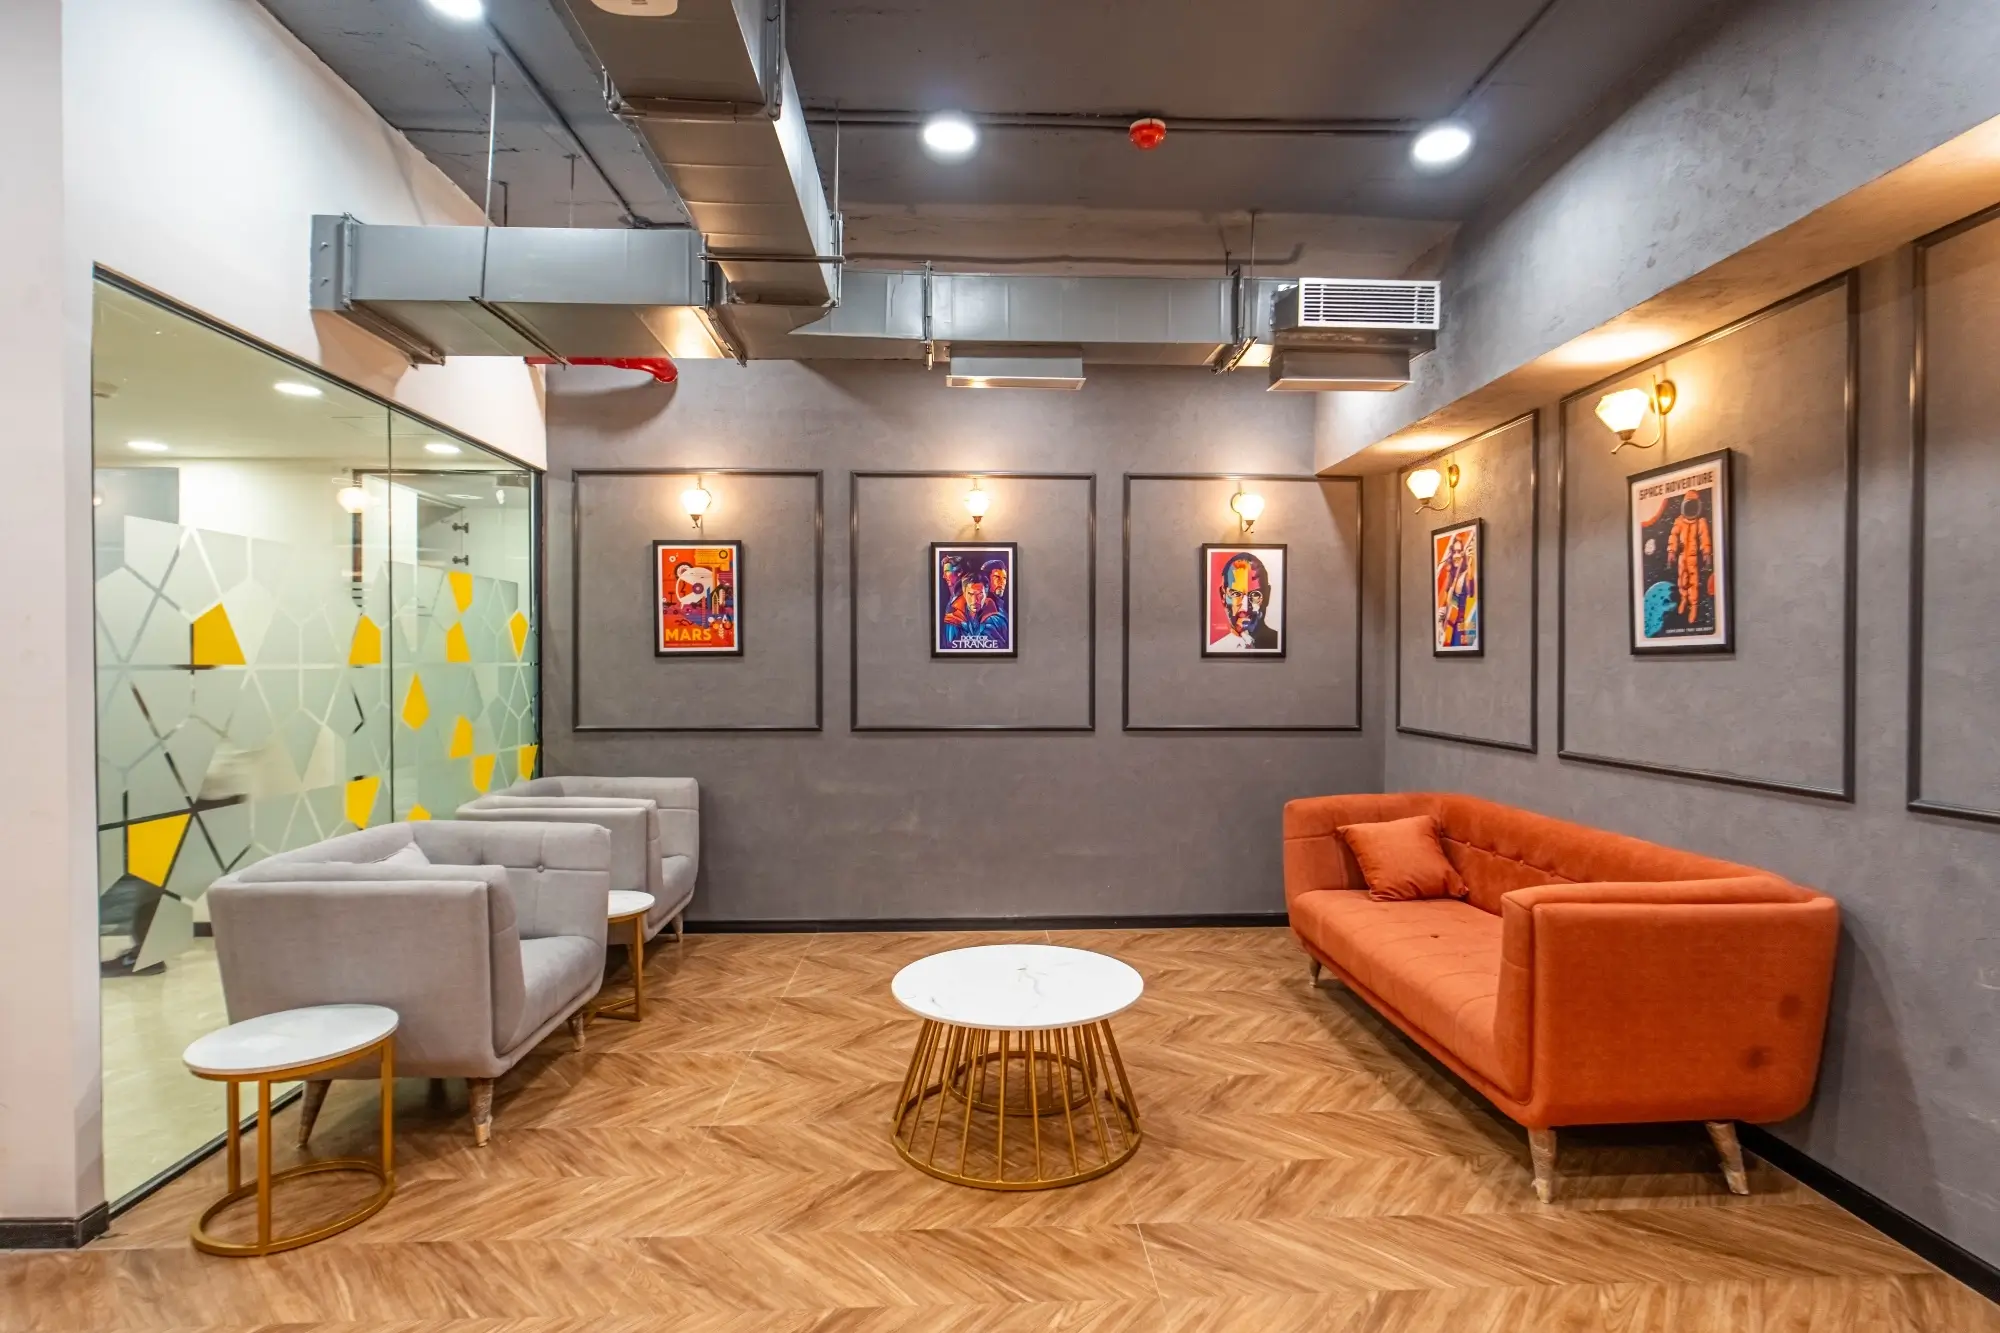
After you know the rough size, decide the mix of spaces. An office is not only rows of desks and a few cabins. It is a set of zones that match work styles. Quiet zones help finance, legal, and tech do deep work. Livelier zones suit sales and support where calls are frequent. Project rooms let product and design leave work on walls. Social spaces give people a place to eat, meet, and reset.
If you design only an open plan with a few big rooms, you will see a common problem: small calls block big rooms and the open floor gets noisy. A better way is to plan for a balanced mix. Keep small rooms near open areas so quick calls do not disturb the whole floor. Place phone booths where they are easy to reach. Put noisy teams away from quiet teams. This is also the spirit behind the WELL Building Standard: balance light, sound, movement, and comfort so people can actually focus and feel well. You do not need a certificate to use the logic.
A simple paragraph in your brief can guide the plan: “About sixty percent for focus seating, twenty percent for collaboration rooms and project areas, and twenty percent for pantry, lounges, reception, and support.” Your designer can then adjust that ratio to your team.
Step 3: Define Essential Functions
This is where many projects go off track because people jump to finishes and furniture without locking the basics. Sit with founders, HR, IT, and admin and ask one clear question: “On Day 1, what must this office be able to do?” Write a short list and treat it as non-negotiable. It will include the number and size of meeting rooms, how many phone booths you want, whether you need a training room or townhall setup, and the private rooms HR and leadership will need. Add support functions to that same list so you do not cut them later when space feels tight.
To keep everyone aligned, share a simple planning article from your own site. A good reference is 10 Elements of a Well Designed Office Building which is written in plain language and covers the basics beyond just desks and walls
When the essential functions are fixed, layout talks get easier. You will argue less about where to put a wall because all of you agree on what the space must do.
Step 4: Choose Build-to-Suit vs Ready-to-Move
Soon you will face a choice. Either take a bare shell and design everything, or take a pre-fitted floor and tweak it.
A build-to-suit space gives you full control of layout, services, lighting, materials, and brand. It needs more decisions and a bit more time. It pays off if you have a longer lease, care about how the office feels, and want a plan that can flex as the team grows.
A ready-to-move space is faster to start. You inherit someone else’s base planning and ceiling grid. It is a good call when speed matters more than control, or when lease tenure is short. Many teams take a middle path: pick a sound pre-fitted base and then re-plan key areas with a design-build partner so the floor suits your team and not a generic BPO layout. If you need scope details or want to discuss a turnkey path, see Orange Offices’ services.
The decision is simpler when you look at four things: lease term, headcount stability, how much brand and client experience matter, and how often you expect the layout to change in the next two to three years.
Step 5: Plan HVAC, Fire & Electrical
This is the least flashy part of an office but it affects comfort, safety, and running cost every single day. Lock it early and you will avoid painful fixes later.
HVAC and fresh air: Check if the present system is sized for your people and equipment. Ask if meeting rooms, open office, and server can be controlled separately. Understand how fresh air enters, how much is supplied, and how filtration works. These basics decide if the office feels fresh at 4 pm or stale and heavy. If you aim for a healthy and efficient interior, the IGBC Green Interiors Rating explains fresh air, energy, and indoor quality in simple terms for tenant fit-outs
Fire and life safety: Confirm exit routes and widths on the actual plan, not only on a lease drawing. Coordinate sprinklers and detectors with ceilings and partitions so nothing gets blocked. Mark exits clearly and make sure emergency lights make sense to a first-time visitor. Keep storage out of escape routes. During design, ask for one joint review where landlord, designer, and fire consultant see the plan together. It saves weeks.
Electrical and data: Align with IT early. Fix the count and location of power and data points. Plan for server and UPS loads and for AV in rooms. Decide where Wi-Fi access points will go. Keep cable routes clean and accessible so you do not open ceilings for every change. A well-drawn MEP set makes all this invisible in daily life, which is the aim.
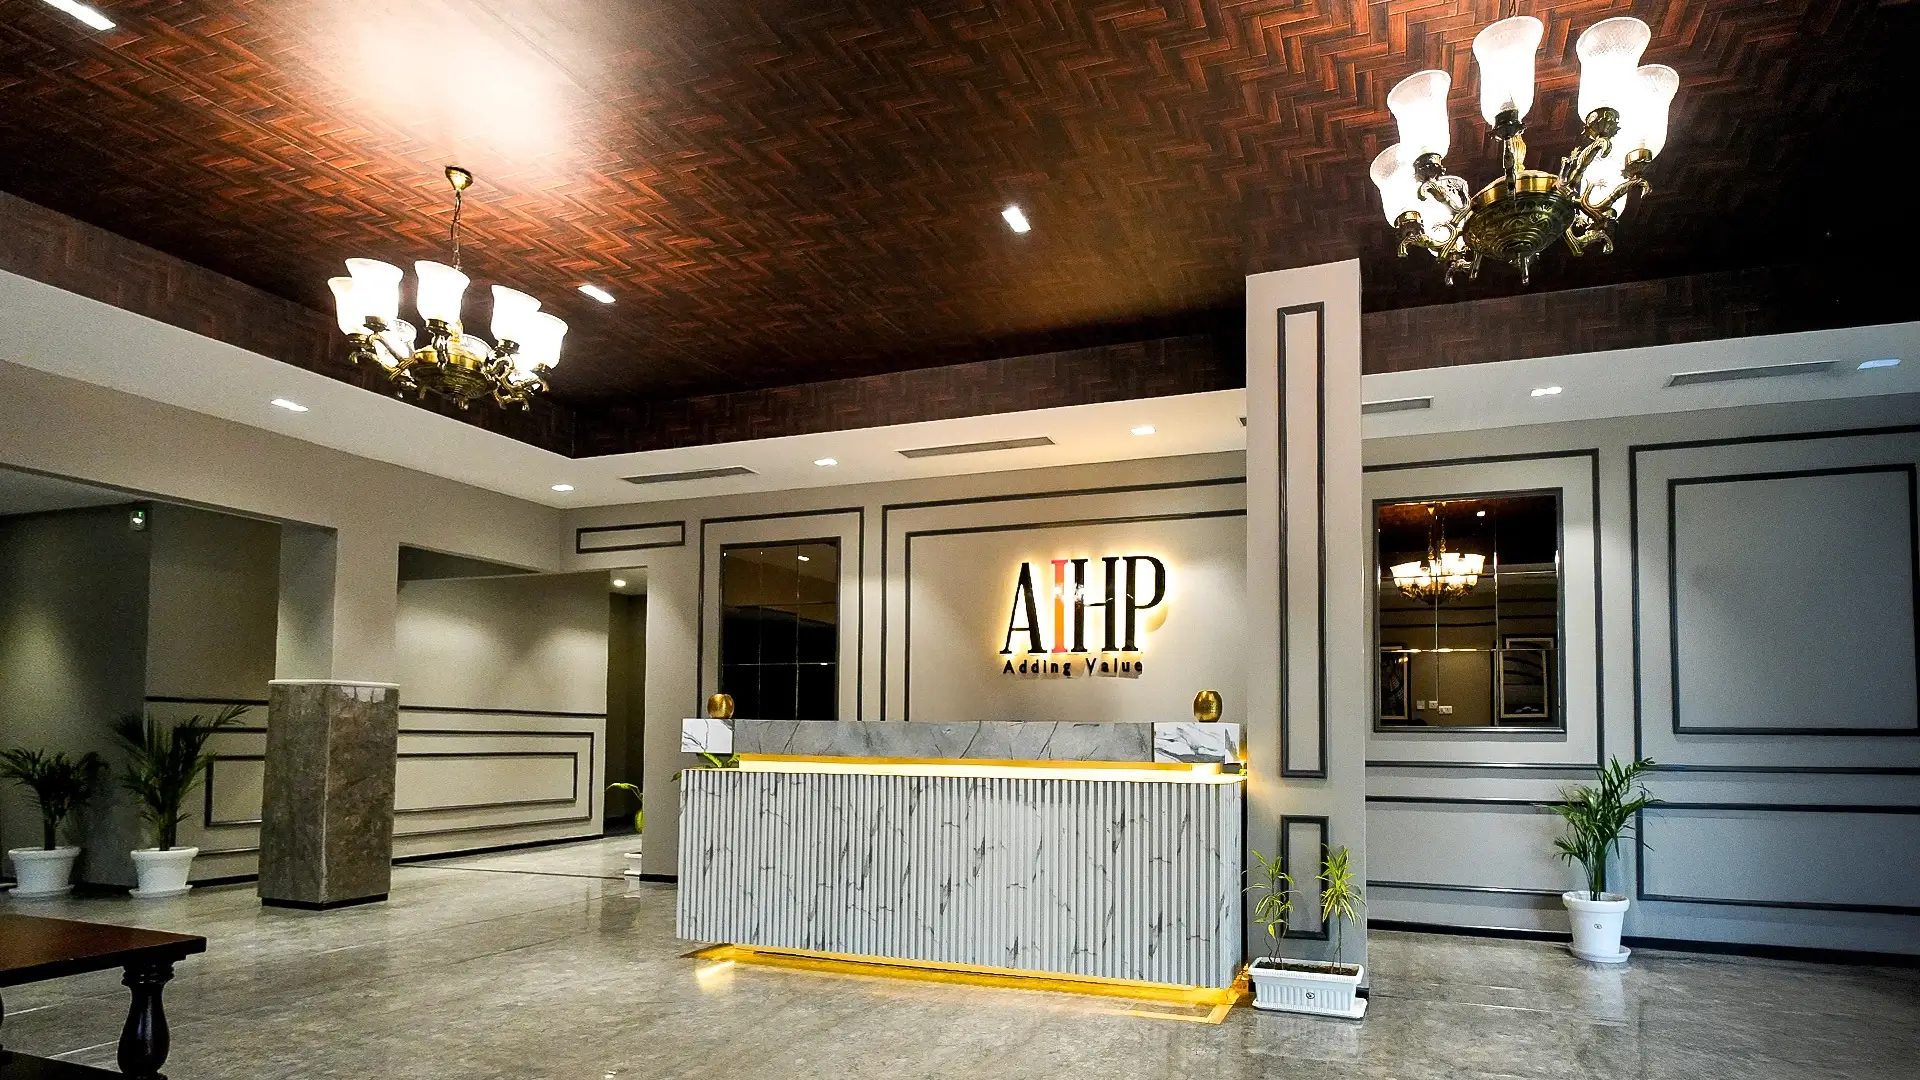
Step 6: Finalise Materials & Aesthetic Direction
Do not begin with twenty mood boards. Start with one line in plain words: “We want the office to feel calm and focused,” or “We want it to feel open, social, and bright,” or “We want a warm, hospitality mood.” That single line is a strong filter. It helps you pick materials, colours, and lighting that work together.
If you want a calm base, lean on soft neutrals, simple lines, and steady light. If you want energy, bring colour in a few key areas rather than on every wall. Keep glossy finishes away from screens to avoid glare. Use task lights where people read or do long stretches on laptops. Let daylight lead the plan and use artificial light to support it, not fight it.
Real photos help non-design folks decide faster. Walk your leaders through the Orange Offices gallery. It is easier to agree on “this is the feeling” when you are looking at built spaces that already work.
Choose materials that age well. Corridors and cafes see heavy use, so pick surfaces that can take trolleys, bags, and coffee. Keep your palette short so replacements match later. Simple, robust details will save walls and edges from constant repair.
Step 7: Budgeting & Hidden Costs
Costs do not jump because of one big item. They creep because of many small items nobody listed early. Split the budget into clear buckets so there are no surprises. Core fit-out covers partitions, flooring, ceilings, HVAC, electrical, data, and fire systems. Fixed joinery includes cabins, storage, pantry counters, and the reception desk. Loose furniture covers workstations, chairs, meeting tables, and sofas. Technology includes AV, access control, CCTV, and Wi-Fi hardware. Branding and wayfinding take care of signage and one or two strong brand moments. Add soft costs like design fees (if separate), landlord approvals, and project management. Keep a sensible contingency for site surprises.
On furniture, avoid the rock-bottom choice. Chairs and desks take long hours every day. Industry standards supported by BIFMA exist so commercial furniture is safe, stable, and durable. Spending a bit more here is cheaper than replacing half your chairs in year two.
Ask your design-build team to walk you through the bill of quantities once, line by line, in normal language. Fix allowances for chairs, lights, and AV early. This one meeting prevents most “Oh, that is extra” moments later.
Step 8: Timeline Mapping
Work backward from your move-in month and build a simple, honest timeline. Start with property shortlisting and basic checks. Add lease negotiation and signing. Put test fits and concept layouts next, followed by detailed drawings and MEP coordination. After that come landlord and building approvals, actual fit-out on site, and then IT, furniture, and branding installation. End with snagging, deep cleaning, and a short stabilisation period.
Share this timeline with clear owners. Founders, admin, HR, IT, and the design-build partner should all see the same dates. This turns “we want to move in May” into “we must freeze the layout in February and place long-lead orders now.” Keep a weekly site walk with a simple punch list. Small issues close faster when everyone is in the same room once a week.
A short recap
If you remember only five ideas, remember these: plan around work modes, not only seat count; place noisy teams away from quiet teams; give storage and circulation real space; fix HVAC, fire, and electrical early; and choose a small, durable palette that ages well. Do these and your office will feel good on an ordinary Tuesday, not only on opening day.
If you want help putting this into action, start by shortlisting a couple of floors and getting one quick planning session with a turnkey team. A one-hour review at the start often saves weeks later. When you are ready to discuss scope, you can explore Orange Offices’ services and browse built work in the gallery.